This website requires Javascript for some parts to function propertly. Your experience may vary.

Rapitry :: Portfolio

Rapitry

Photogrammetry Automation Toolkit

Rapitry is an automation toolkit developed to simplify the usage of Photogrammetry, by removing unnecessary complexity & repetition from the common asset generation workflow.

Therefore, increase the viability of these techniques in a production scenario, where it’s a technical & artistic viable option.

Wireframe of a Bug digitalized with the scanner for a local museum.

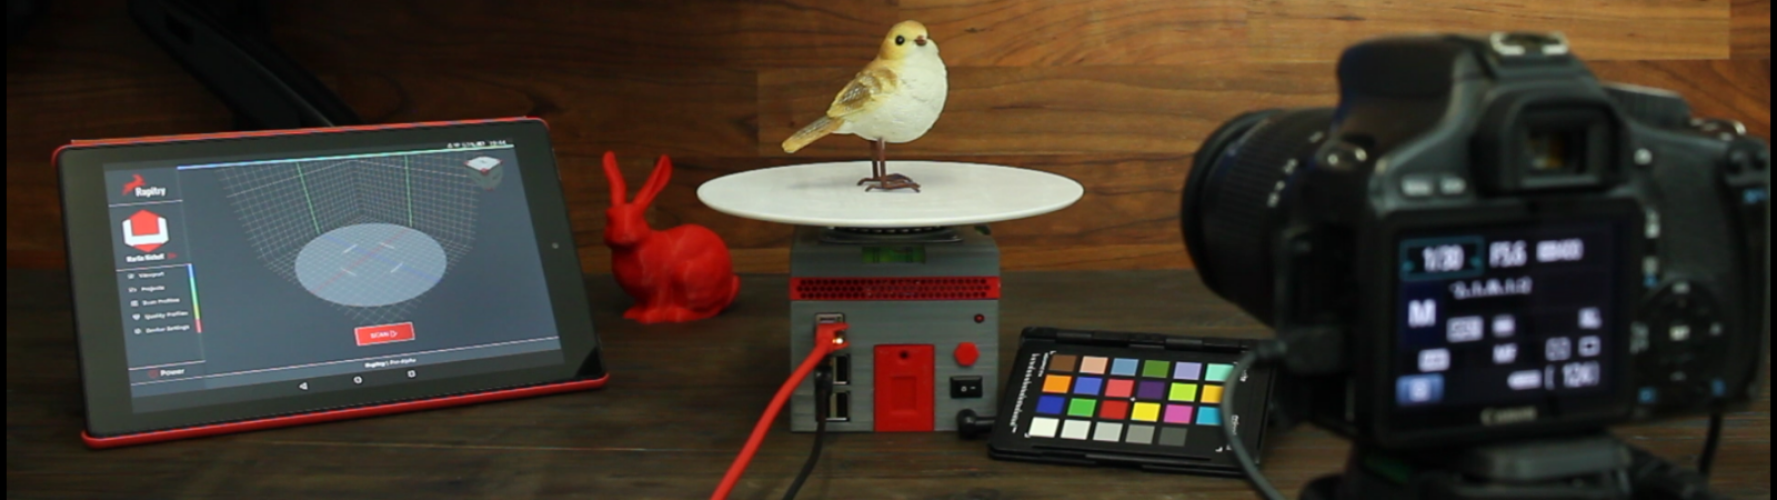
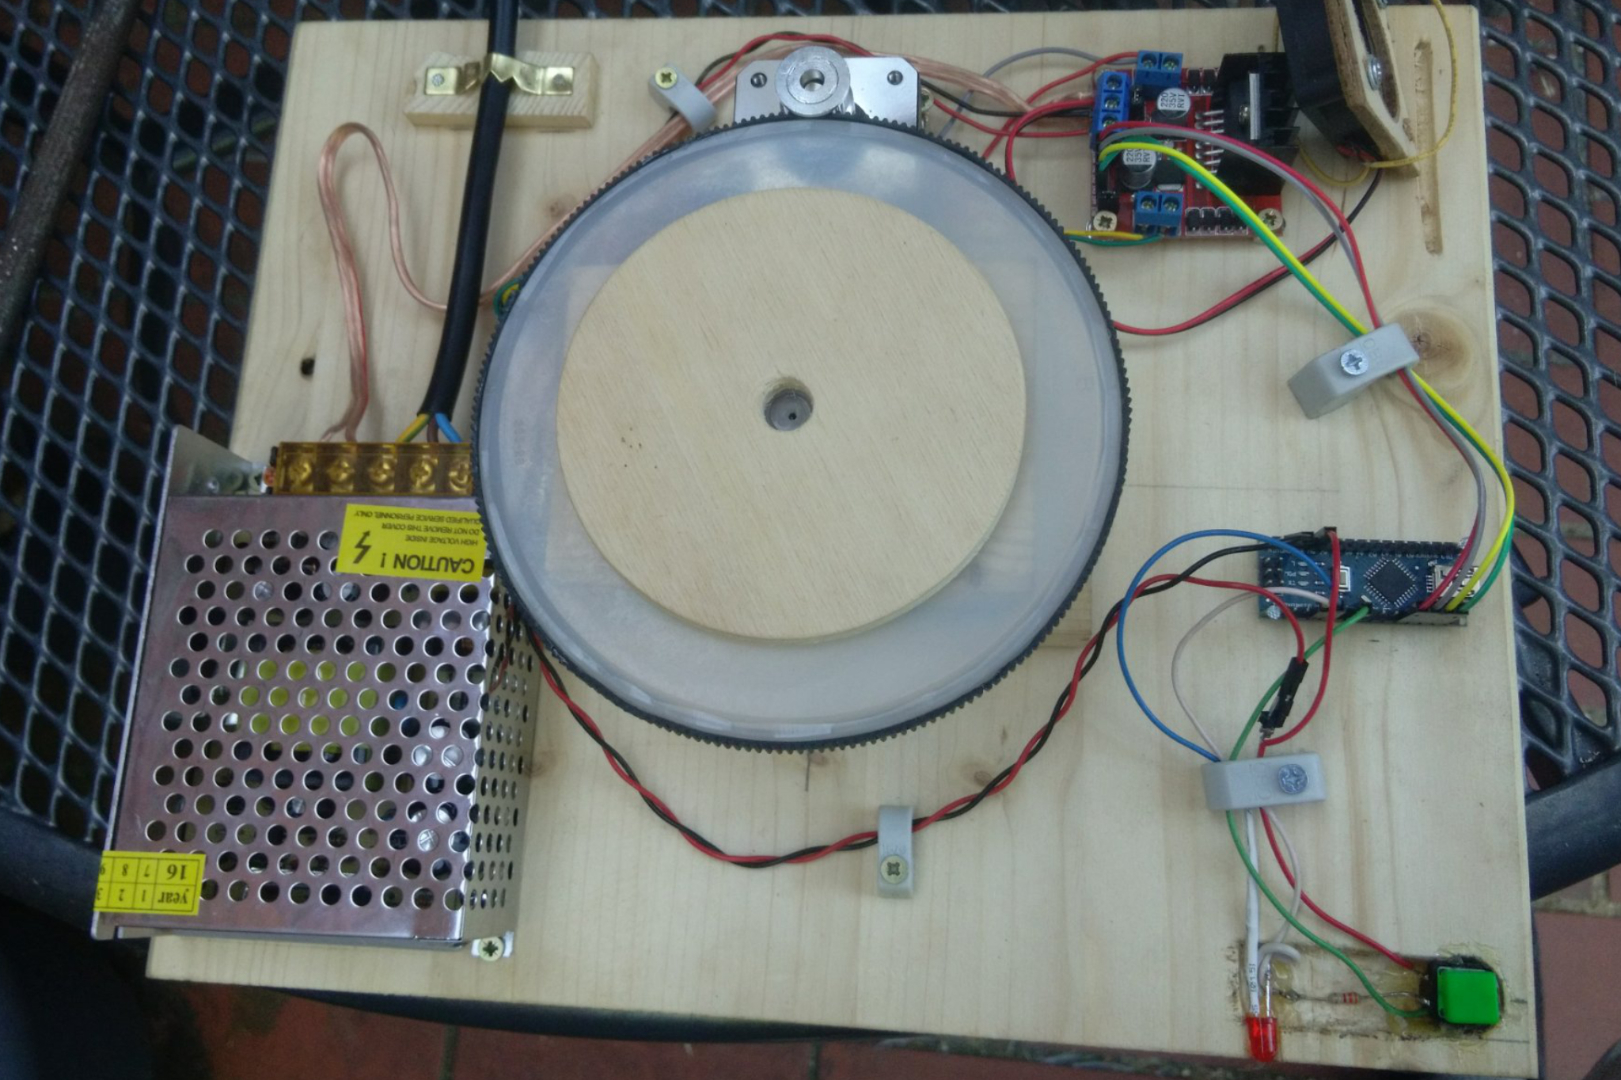
Rapitry is a Photogrammetry Automation Toolkit including a self-made turntable for automated scanning of smaller objects. I developed this as part of my graduation as I found it always delightful to be able to scan in a real-world object for use in a virtual environment.

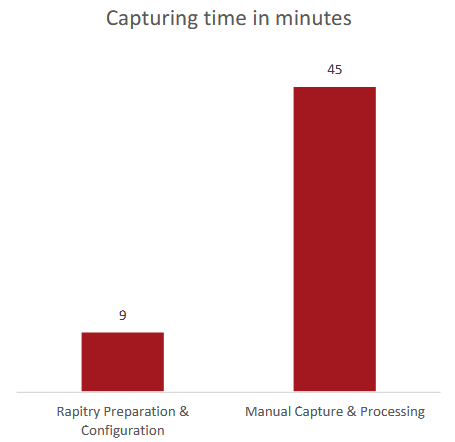
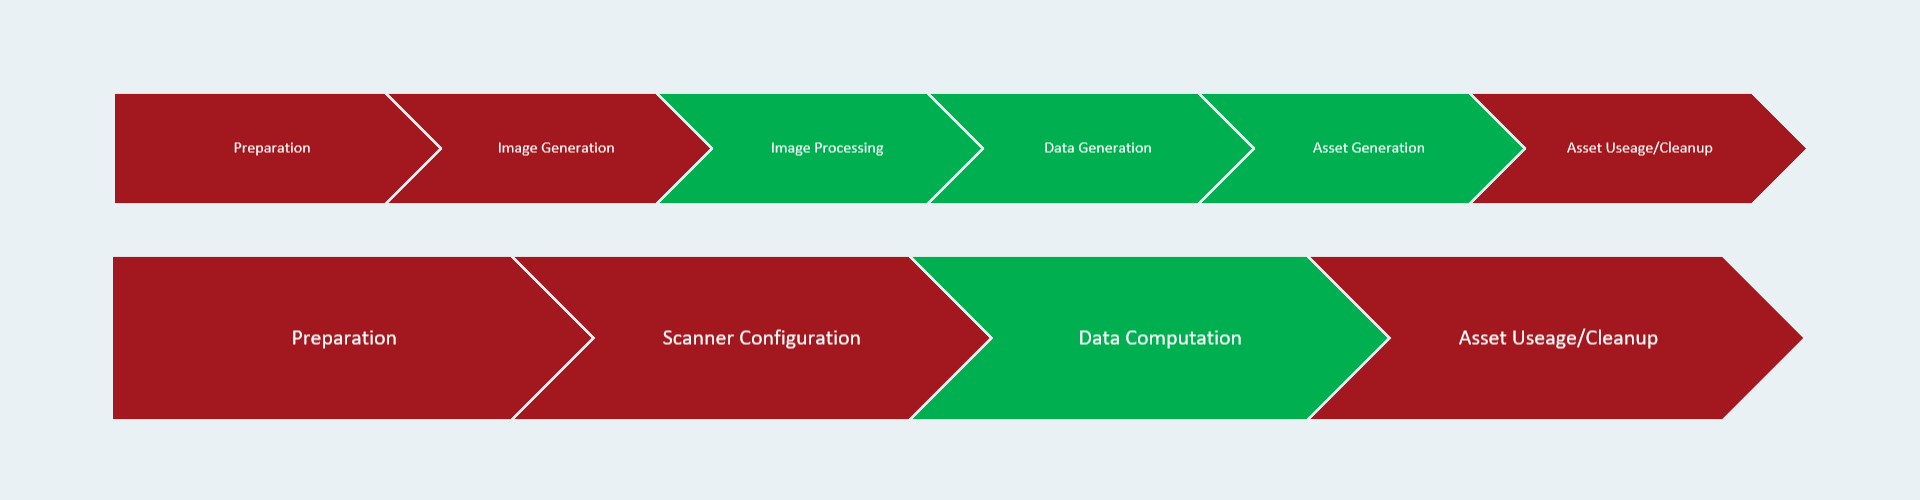
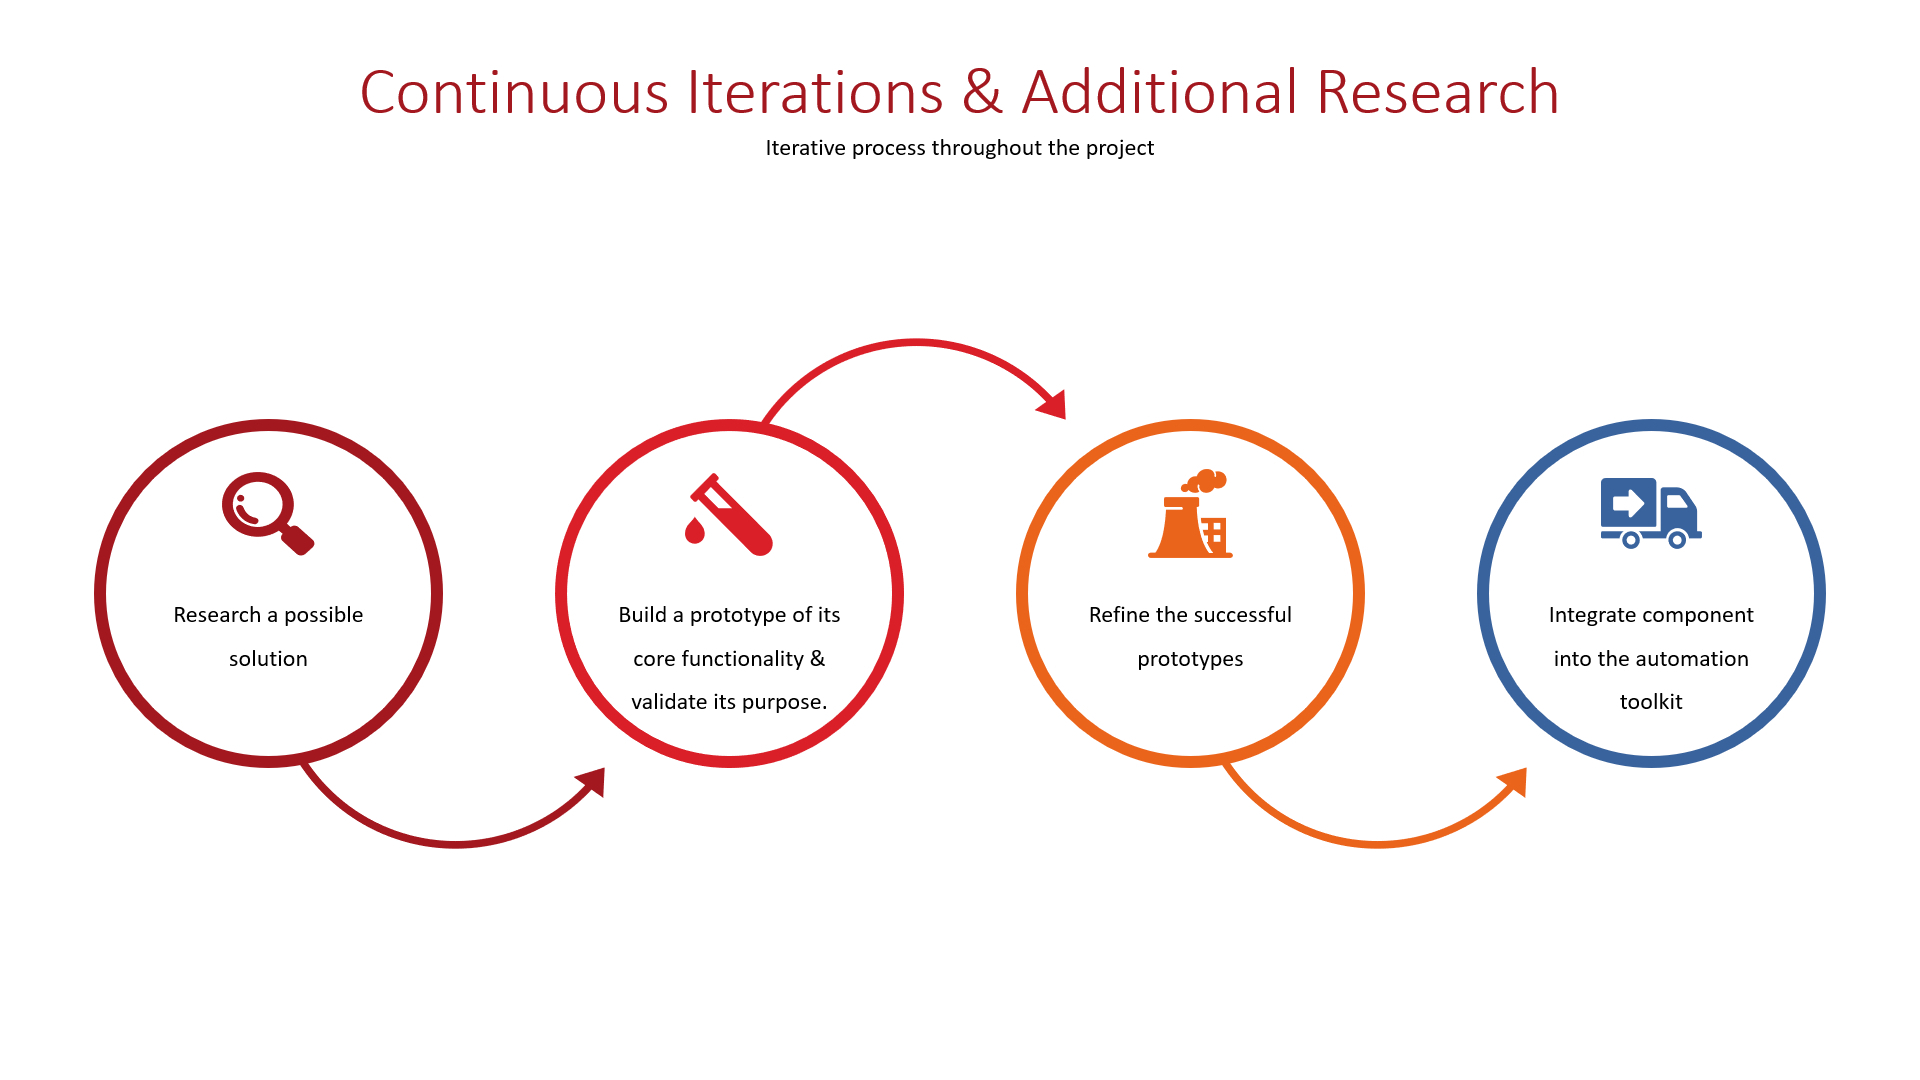
The goal I set myself for the project was to develop a “toolkit” for an optimized photogrammetry workflow of smaller assets, for use in games & interactive media applications. It should reduce the amount of manual labor, which is required during the process of the creation of photo scanned assets for (real) time applications and renders. Therefore, making it more feasible to use in a production scenario.

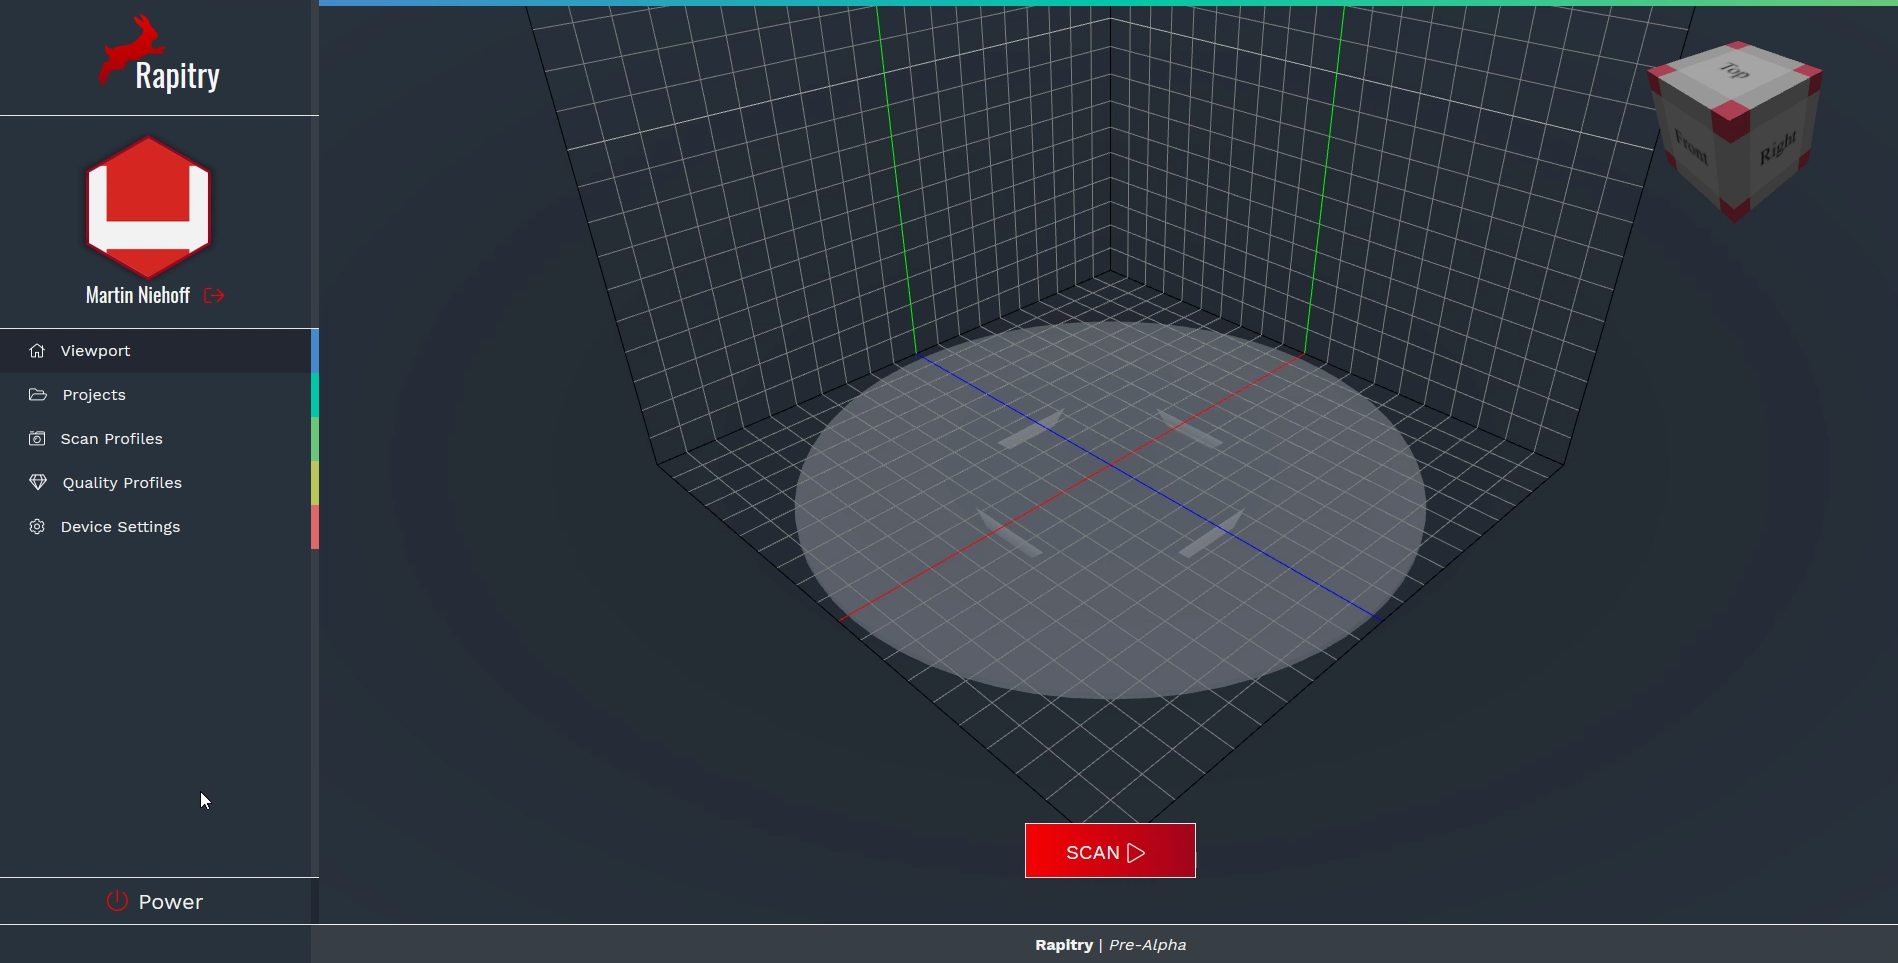
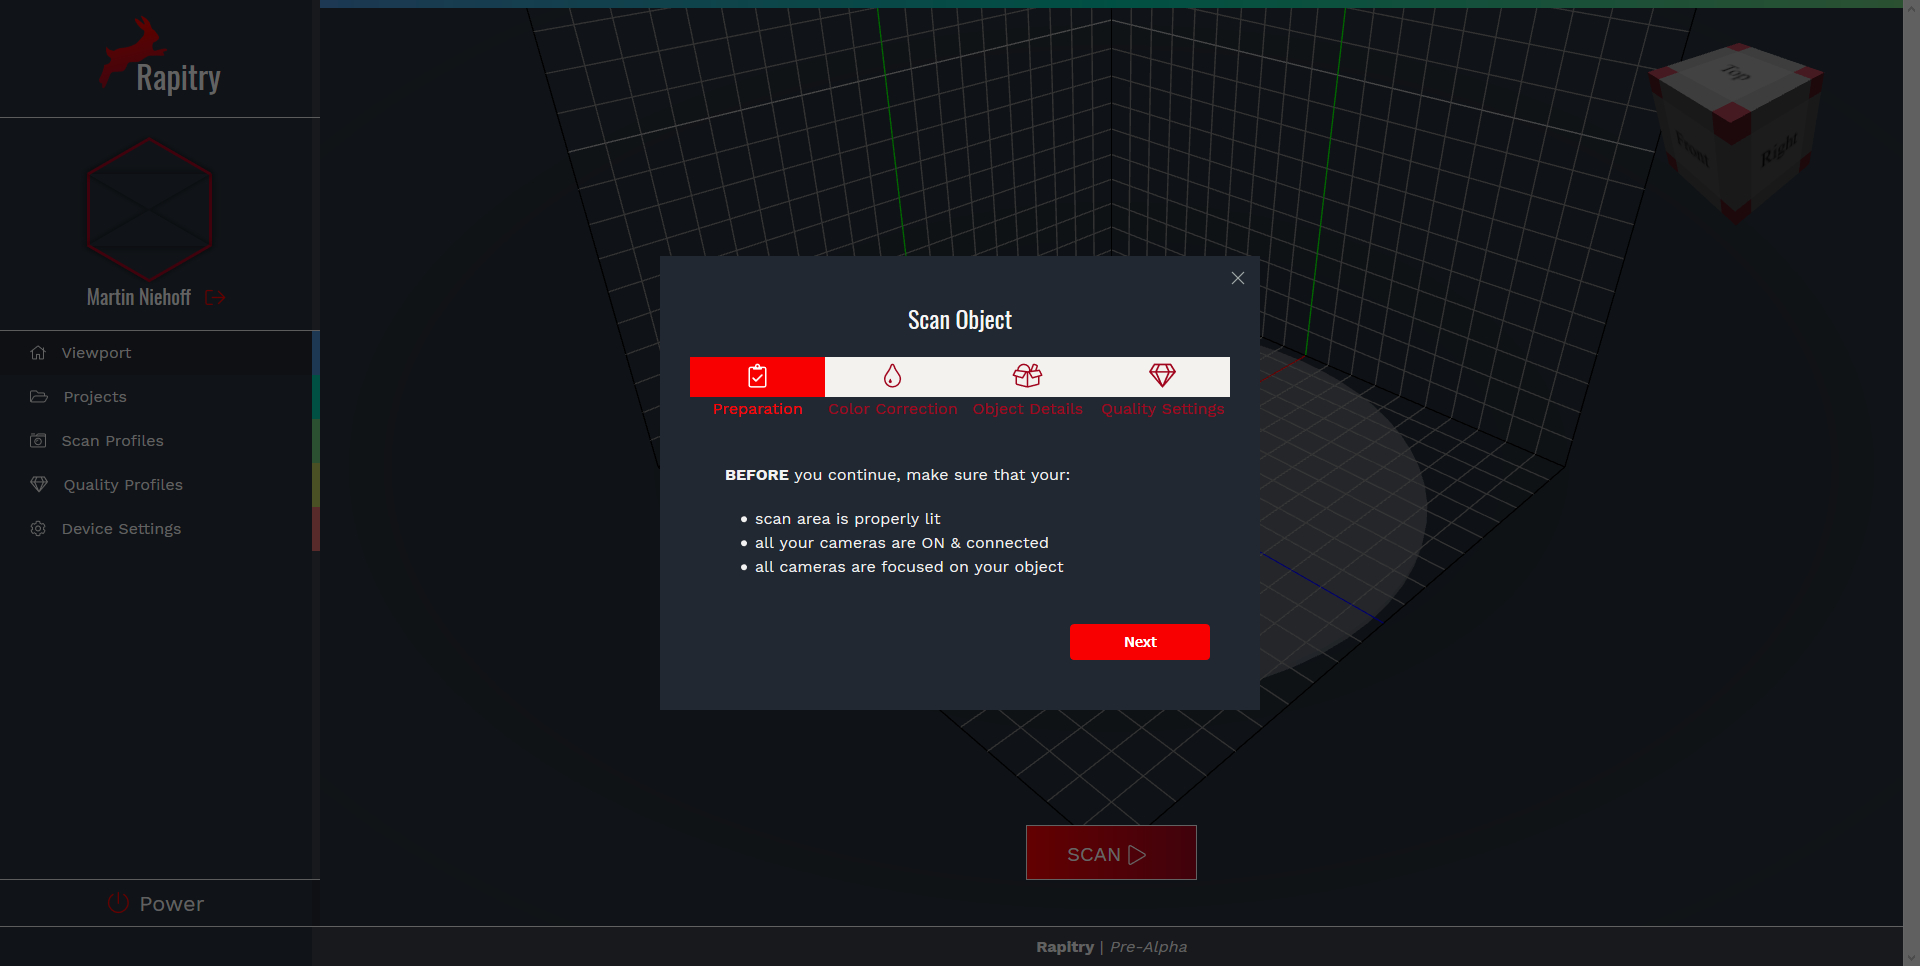
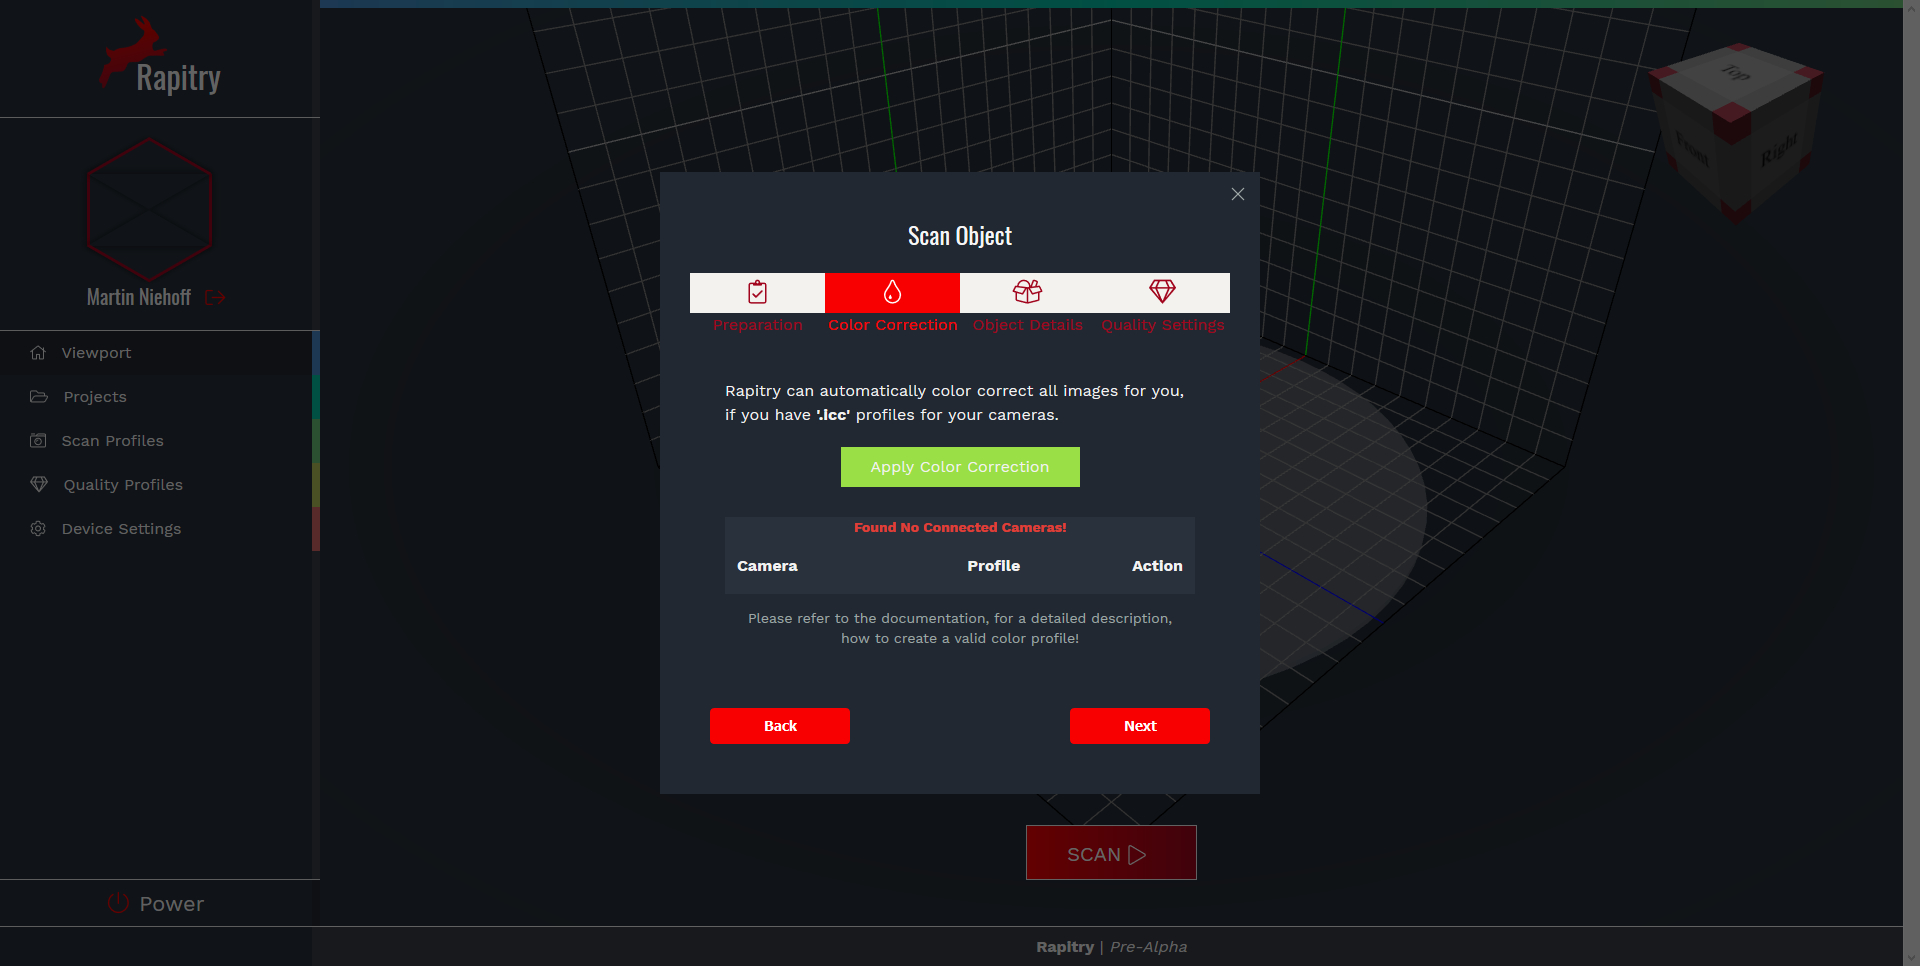
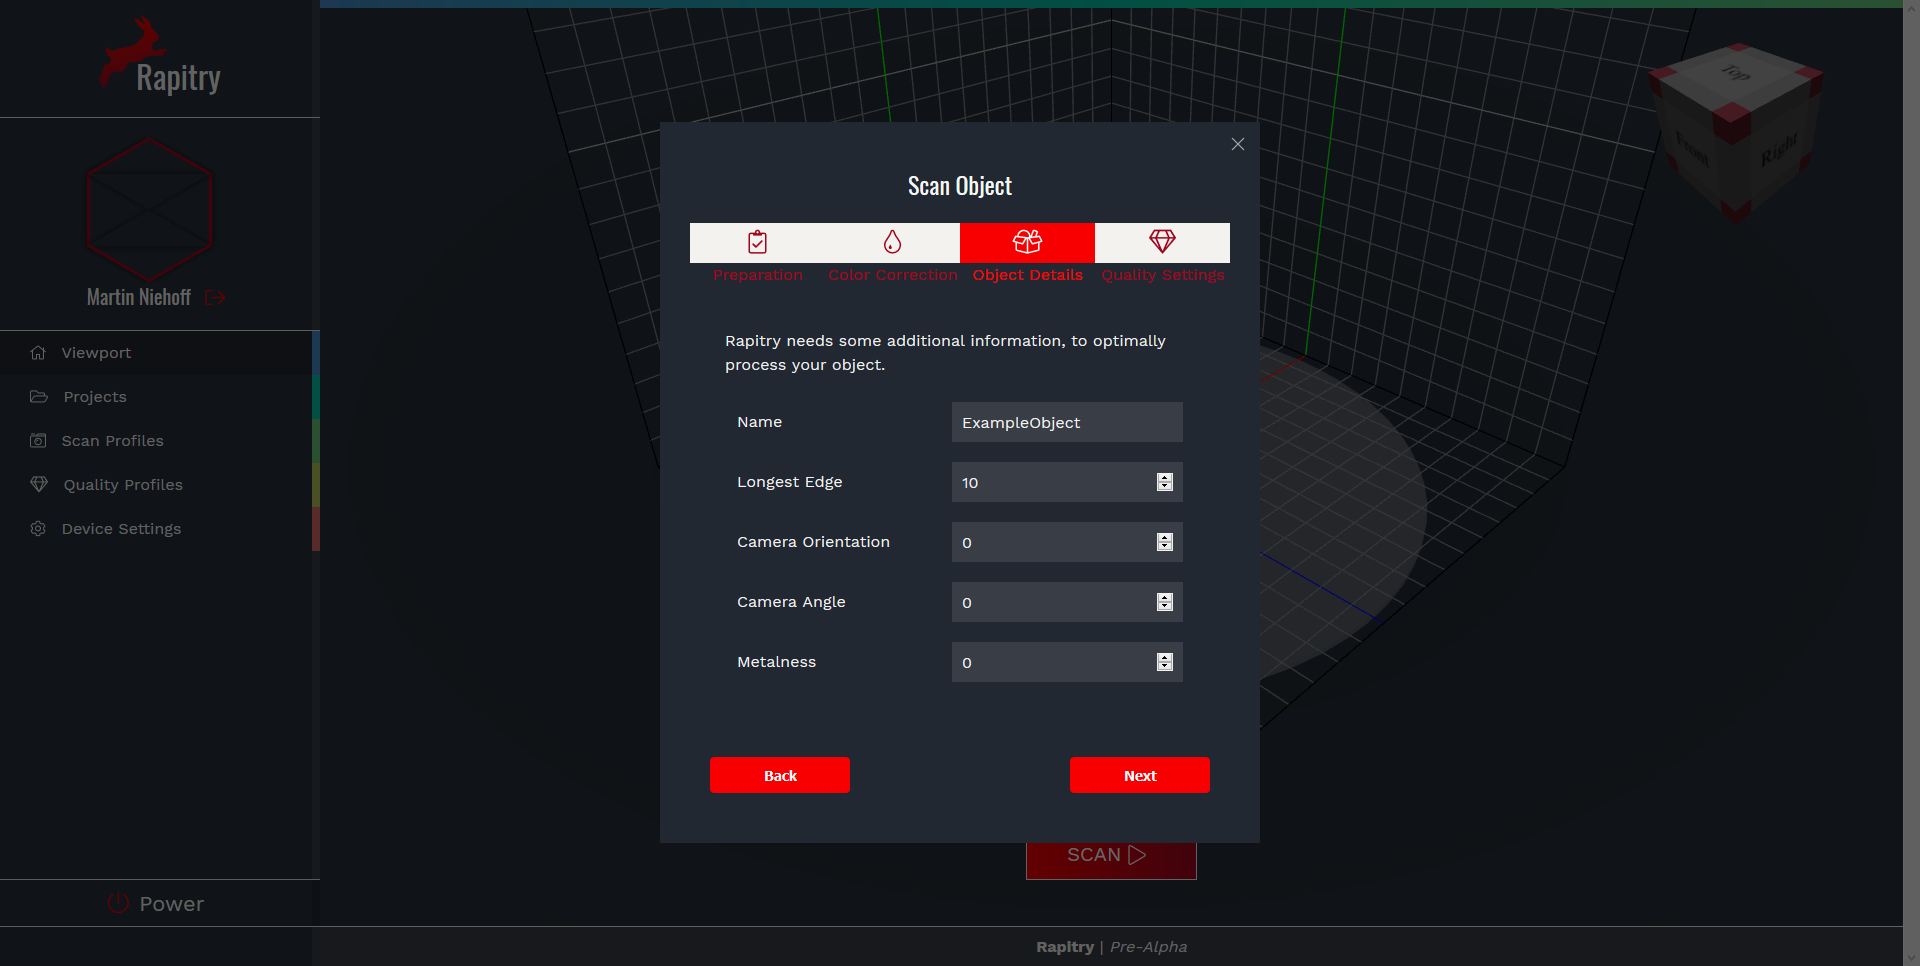
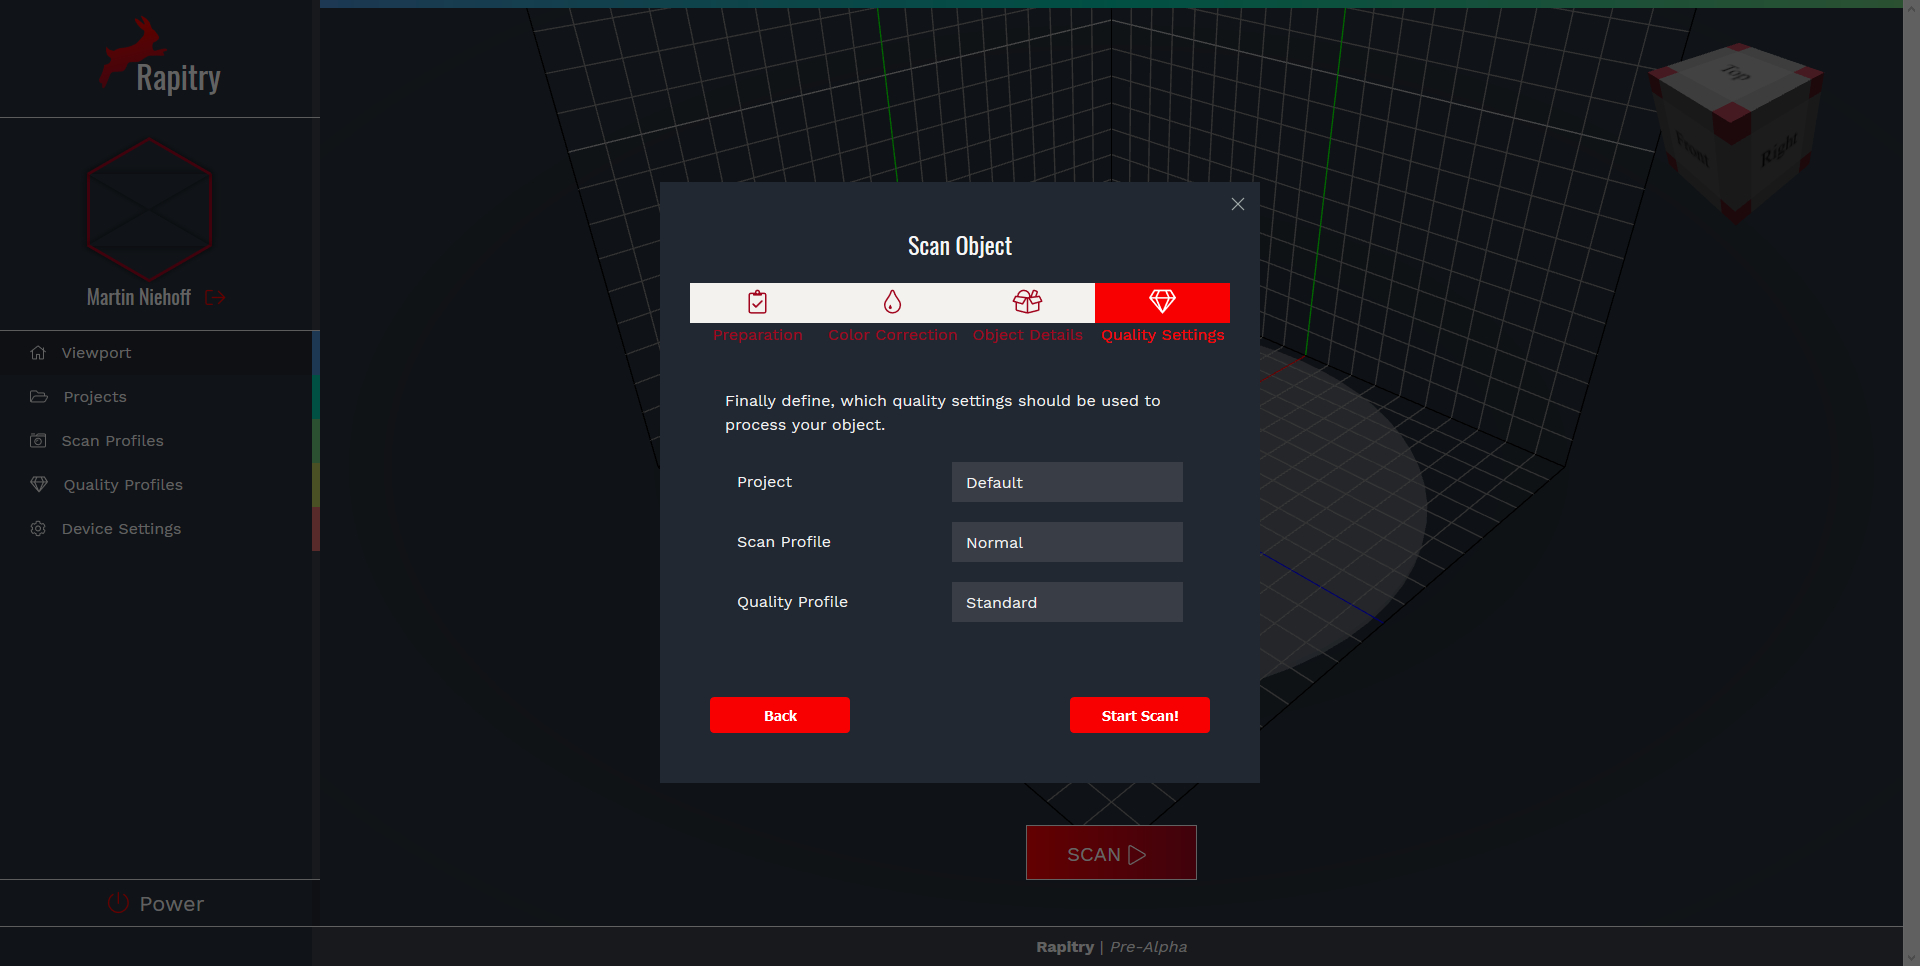
This resulted in my “toolkit” called “Rapitry” for an optimized photogrammetry workflow of smaller assets, for use in games & interactive media applications. Rapitry simplifies the capturing process, by removing interaction points with different software packages. While taking over the repetitive tasks from the artist so he can focus on the things which matter for him, his art.

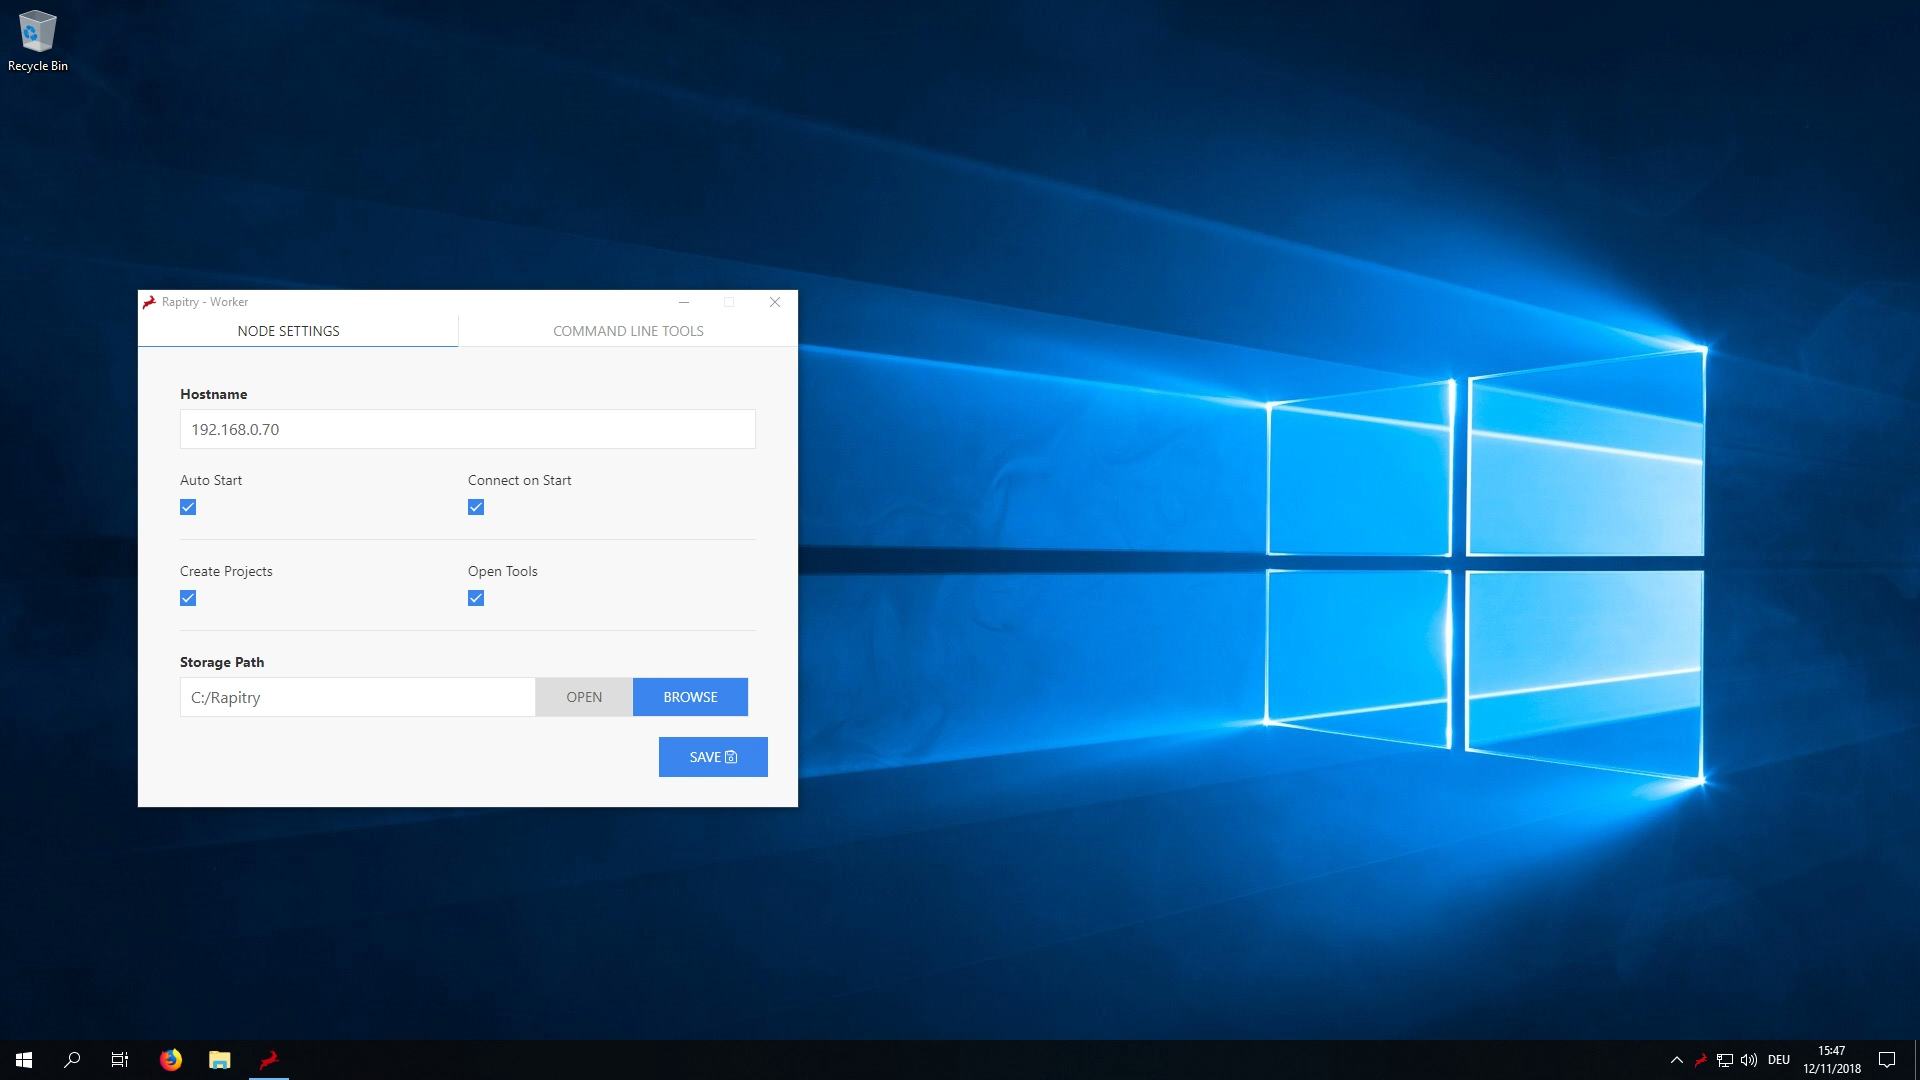
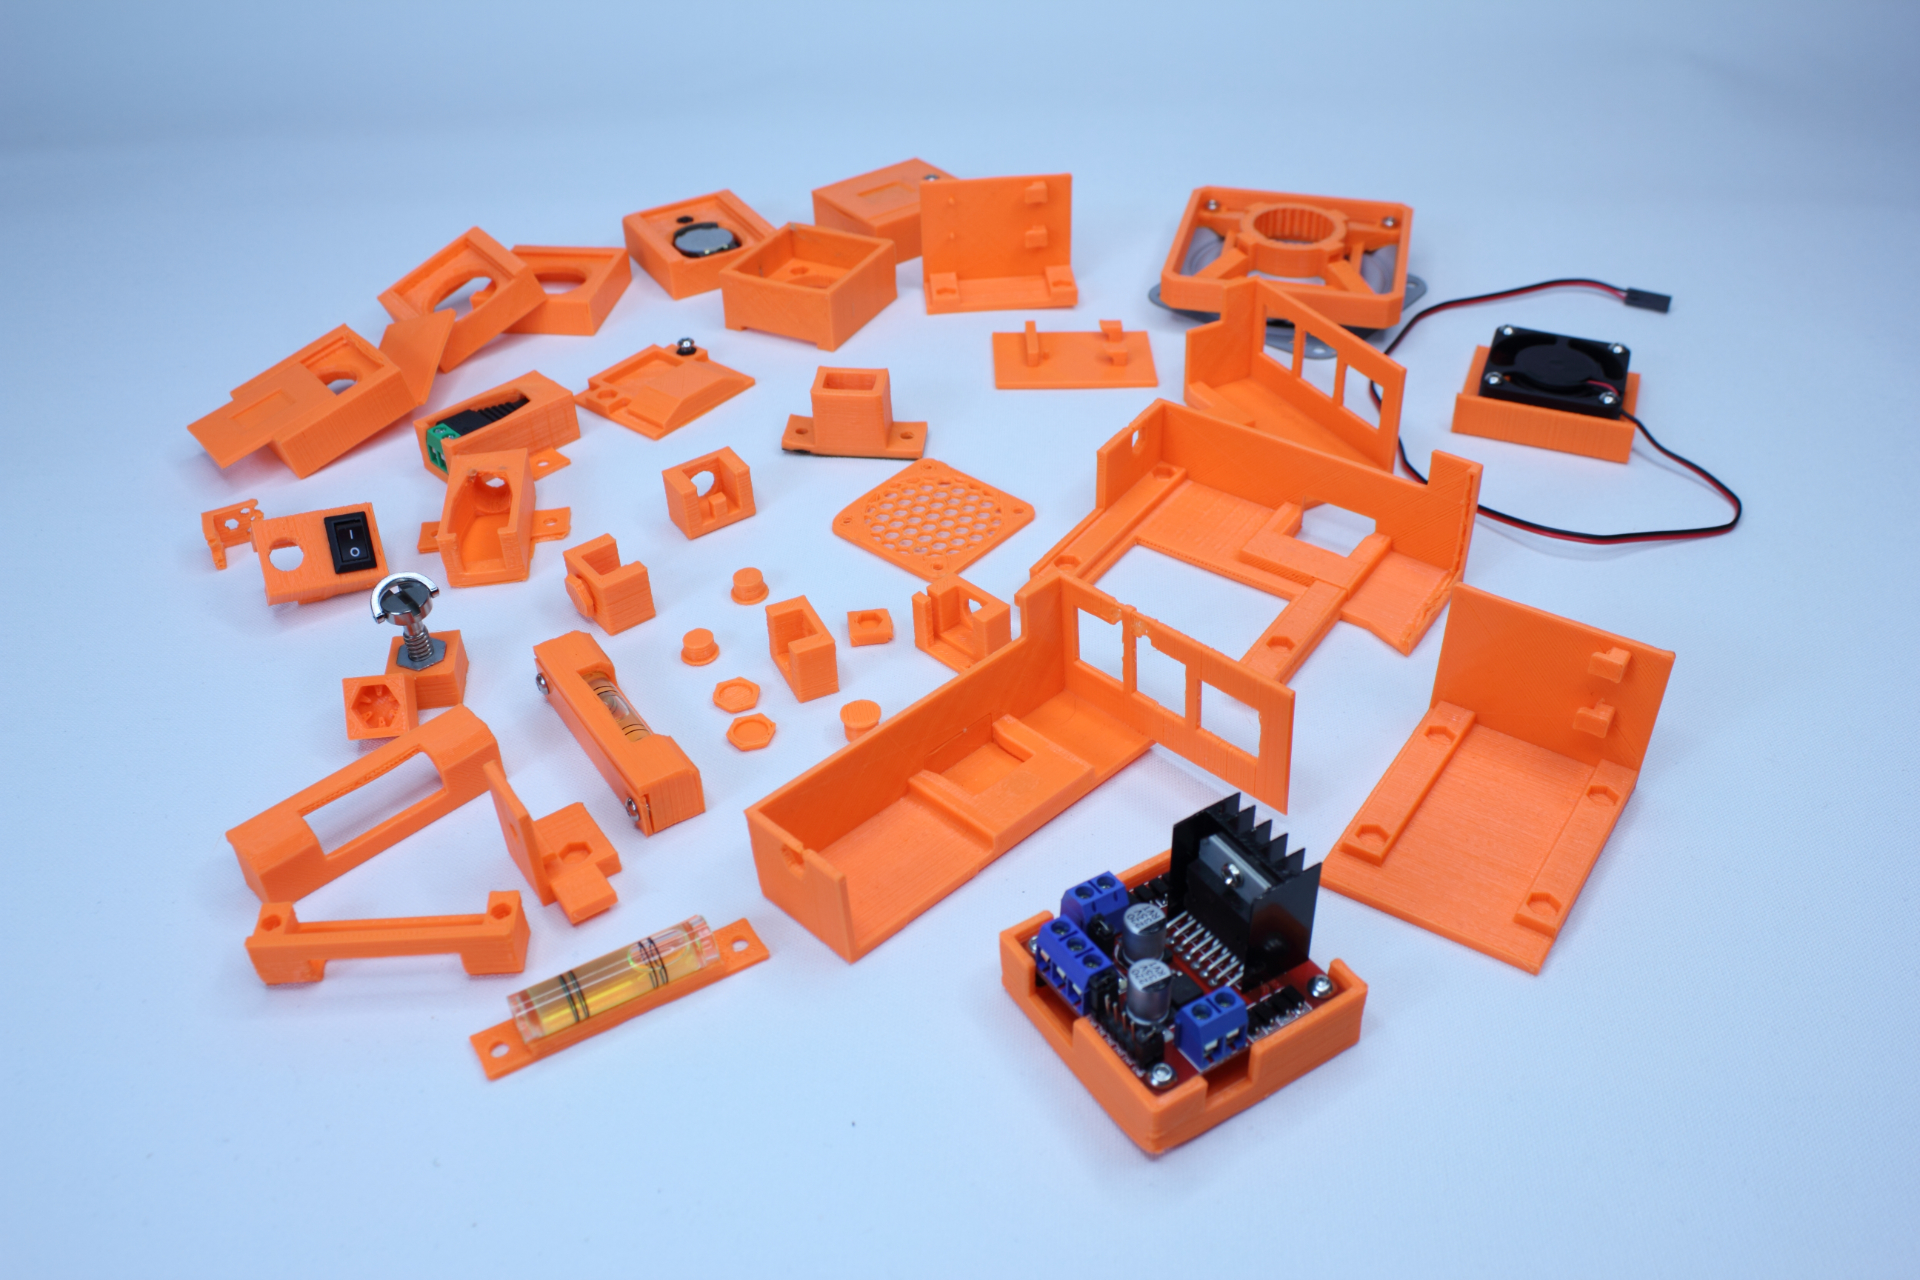
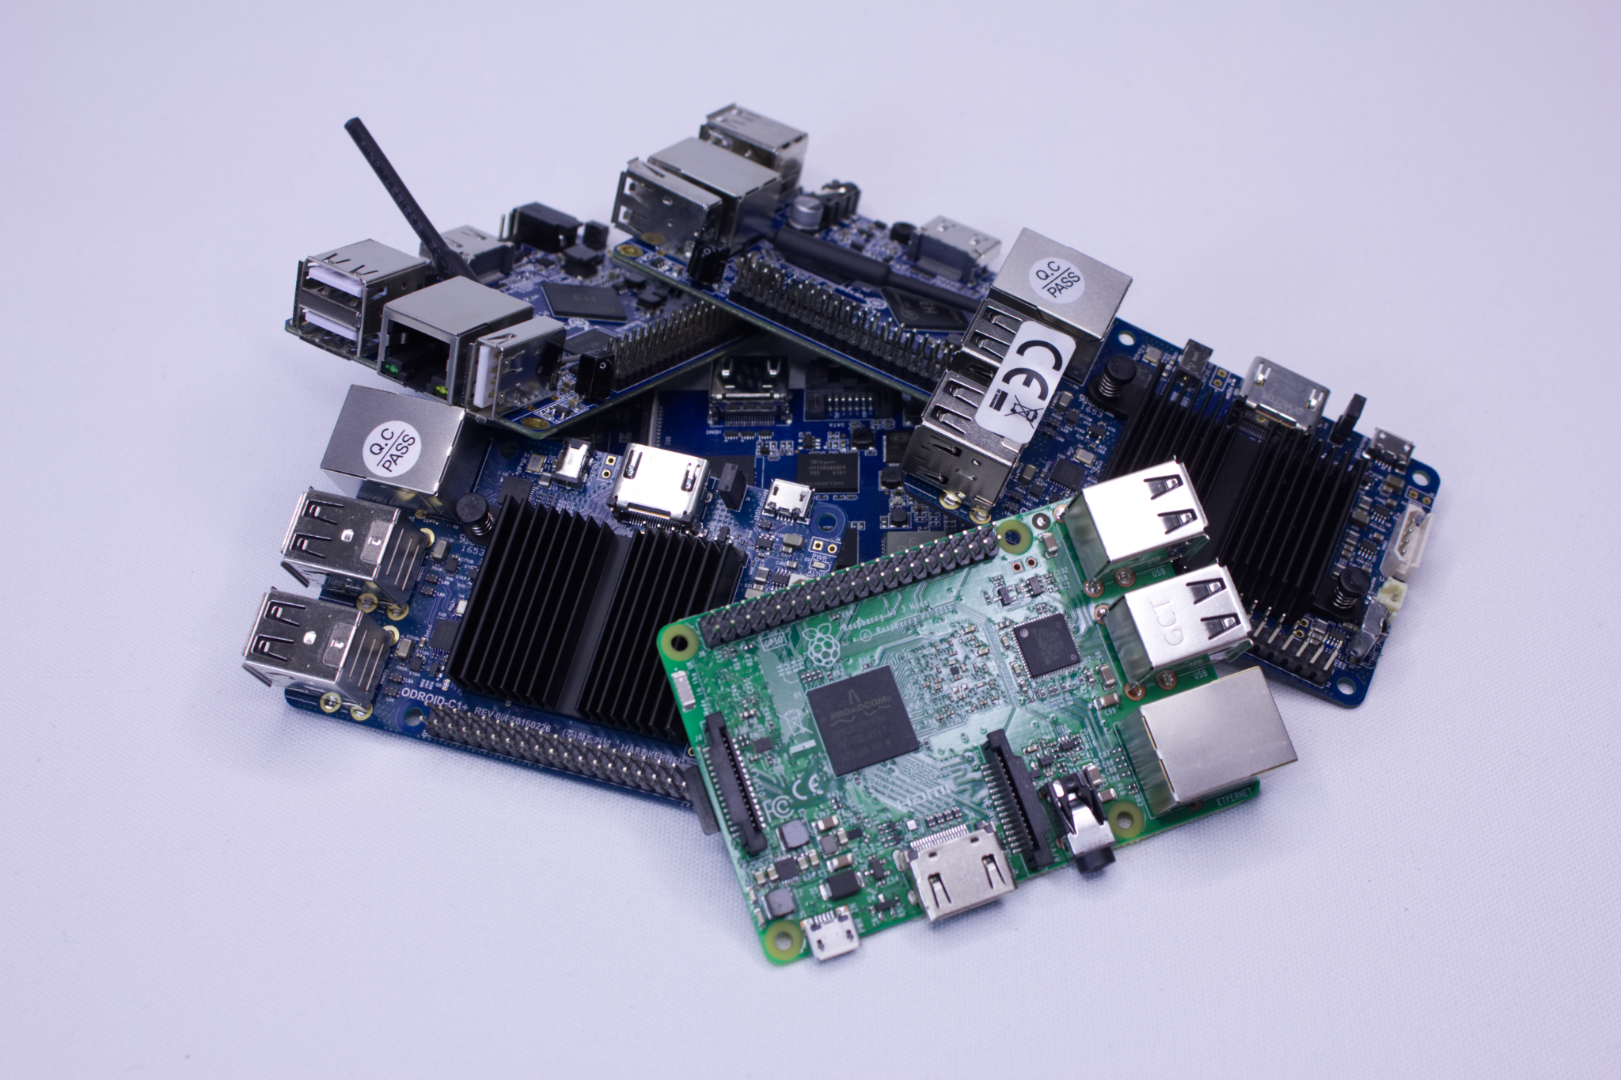
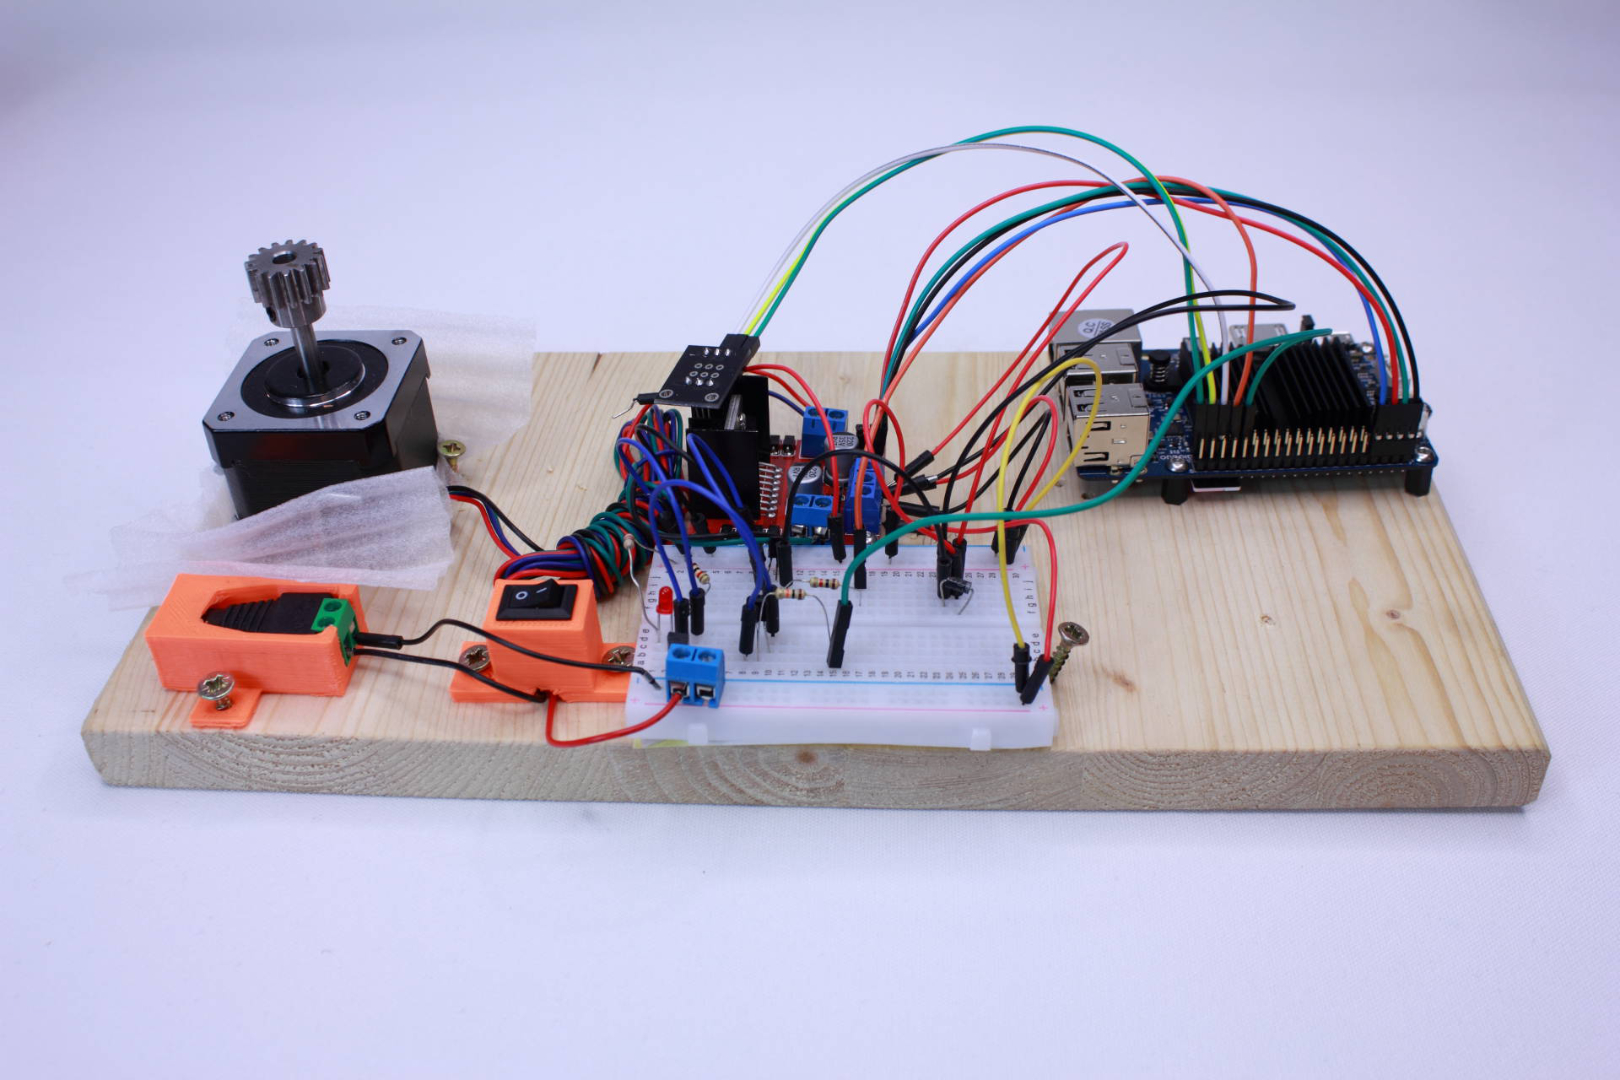
The toolkit consists out of a physical Device, a configuration panel & a worker node.

Physical Device

The core of the automation toolkit is its scanner. It consists out of its “linear motion driver”, the part of the turntable which moves the object on top of the turntable. A stepper driver with its control board, which is attached to our “capture processing unit” the brain of our scanner.

Our scanner set with one of its available base plates holding its mascot.

The capture processing unit handles the automated scanning of the objects on the turntable, as well as the execution of the post-processing and computation tasks over our render nodes on the network.

It controls all attached cameras and runs the webserver for our configuration panel.

Configuration Panel

Rapitry offers a simple to use web interface, which enables artists to control the scanner & quickly start up a new scanning process.

A screenshot showing the home page of our scanner configuration panel.

Furthermore, it offers some advanced configuration possibilities, to configure projects with easy asset management, as well as advanced configurations for the scan & asset quality.

The entire user interface follows a simple style & branding guide to ensure a more professional look of the application and a consistent user experience.

Worker Node

The render node is the actual worker of our automation toolkit, which does all the heavy lifting throughout the process.

A screenshot showing the worker node running on a windows machine.

It listens for commands from the capture processing unit and carries them out on a powerful machine in the network. This includes all the file processing and data generation, which an artist must carry out manually otherwise. While it gives you the flexibility to use various machines across your network, for different processing tasks.

Do you want to know more, or having something similar to solve? I am always looking forward to new challenges or interesting talks.

Outcome

Time difference between an object capture, with & without our toolkit.

Workflow Comparison, between our old manual capture and one from our automation toolkit.

The biggest time safer between both workflows is that our artists have fewer interaction points with different software packages. The time required for the capturing and processing of an image sequence shows the benefit of this process simplification. Although the processing times of both workflows remain the same, the reduction of the workload for our artists is significant.

Figure showing the different steps between a manual example workflow and our Rapitry based workflow.

Conclusion

The developed automation toolkit greatly simplified the capturing process of smaller objects for me. Due to the small form factor, the scanner is quick & easy to set up and lightweight enough to transport. While the additional documentation and the reduced number of applications an artist must use make it easier to explain this workflow to other team members.

Furthermore, its low development costs and the possibility to be used with the existing hard & software justifies its development from a commercial standpoint.

Process

Due to the scope of the project, I decided early that it would be a wise idea to separate its basic functionality into sub-projects. That I could continue to work along in an iterative manner. From the most challenging one, towards the smaller chunks, until I had enough information to work on the implementation of the automation toolkit and was confident enough that the project was manageable in the given timeframe.

Recommendation

Collection of test prints of the case of the scanner.

The development of a similar automation toolkit is a valid option for workflows, which offer a similar level of repetition. Tough this is only valid if the workflow is also used frequently enough to justify the investment of development time for its creation. As this strongly depends on the given use case, I recommend to:

  • Investigate the complexity of the workflow.

  • Examine the required flexibility of the process.

  • Determine the users of the tool.

This should give you an indication of the viability of your use case.

Do you want to know more, or having something similar to solve? I am always looking forward to new challenges or interesting talks.